In this tutorial I am going to show you how to remove a drive from your logical volume group without losing any files by first moving all of its contents onto the other drives. This means that you do not have to take a full backup to another set of drives. I did this today because I wanted to replace a laptop drive that I had temporarily added as emergency "extension". Using the drive had noticeably decreased the performance of my volume group when writing new files and reading from those files later on.
The first step is to look at your physical volumes in your volume group. You should have already added your new drive to the volume group if you are performing a replacement. This will also work if you have enough storage remaining on the already existing drives.

sudo pvs -o+pv_used
Hopefully that shows you that you have enough space on your other drives. To spread the files from the drive you want to remove, just enter the following command:
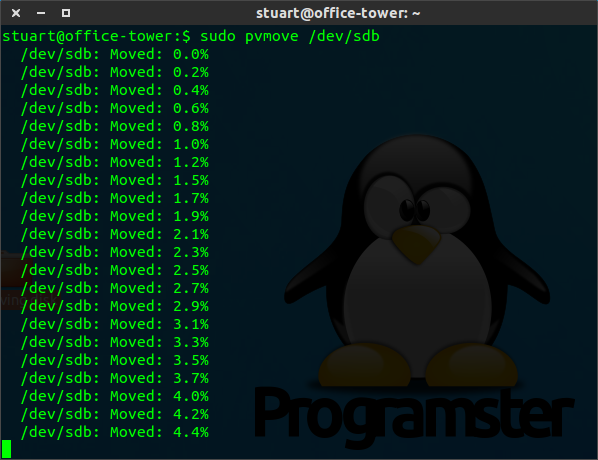
sudo pvmove /dev/sd[x]
This takes a long time. So at this point it is probably best to go away and watch a movie.
When that has completed, you may want to run the following command again to see how everything is spread.

sudo pvs -o+pv_used
You can now remove the drive from the volume group with the following command:
sudo vgreduce [volume group name] /dev/sd[x]
For example:
sudo vgreduce vg_main /dev/sdb
That's it! You can now physically remove the drive from your machine. If you run step 1 again, you will see that it no longer appears in the volume group as shown below:

No comments:
Post a Comment